
")
You can omit the PLATFORM and/or DEVIP variables if your Environment Variables are set properly. You’ll only need to build the lvgl library once, and if changes are made.
Optionally Build with NBEclipse
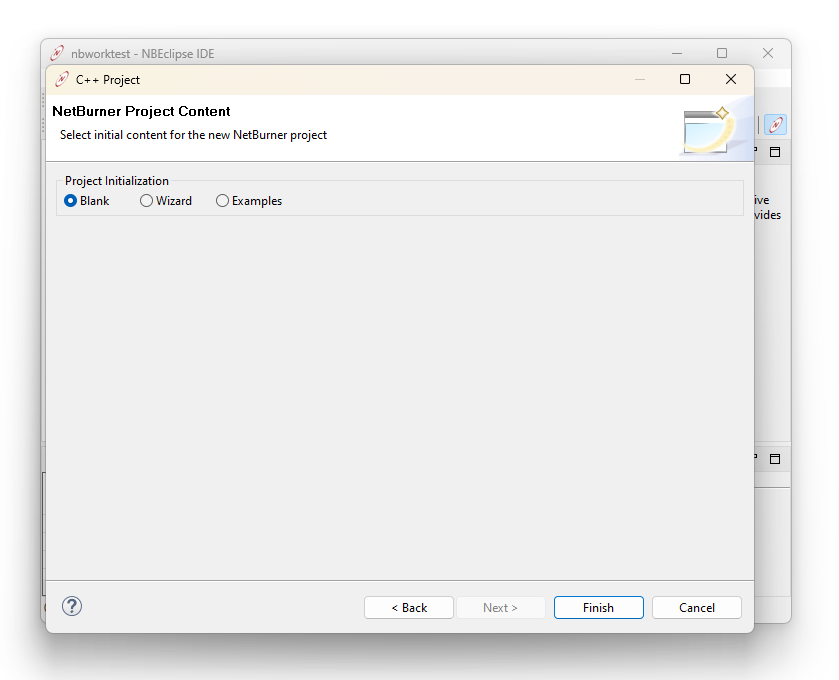
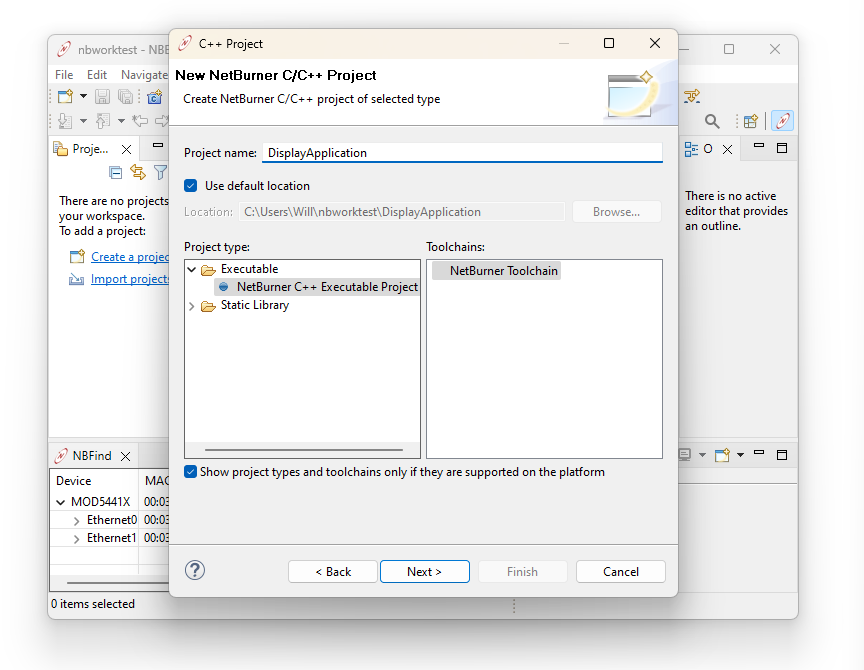
- If you prefer to build using NBEclipse, first create a new NBEclipse project. Use the New Project wizard to generate a NetBurner C++ executable project. In this guide, the project name DisplayApplication will be used.


- Copy and paste the
srcandlvglfolders from the file system directly into the NBEclipse project root, as well as the.eez-projectandmap.pngfiles. The project layout in the project explorer should now look like:
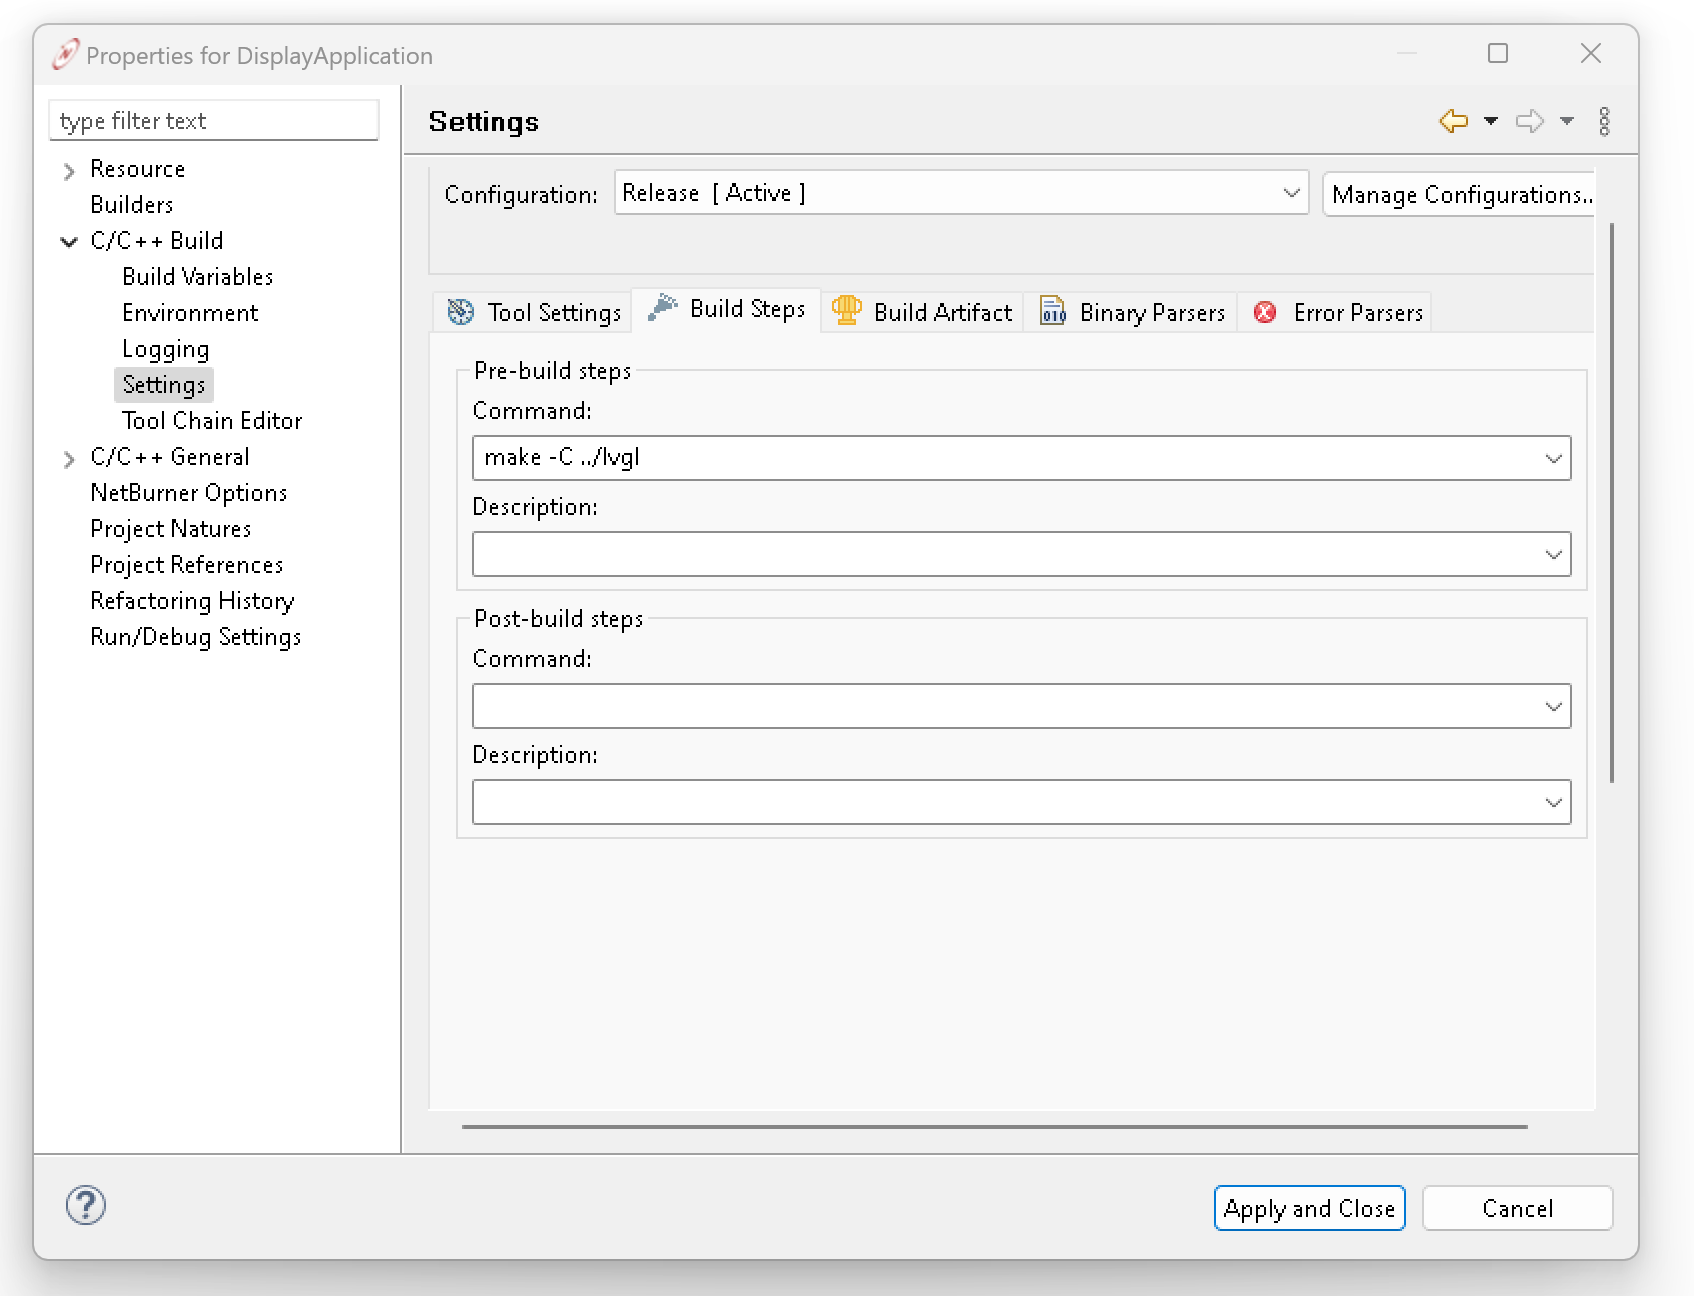
⌄ DisplayApplication > Build Targets > Includes ⌄ src > ui > html ⌄ lvgl > src > overload DisplayApplication.eez-project DisplayFrame.stl makefile map.png README.md - Add a pre-build step to the project. This step will run the LVGL makefile before building the application binary. Note that the makefile in the root of the project is not used by NBEclipse: it’s there for CLI-based workflows.

- Right click on project and select
Properties - Click on
C/C++ Build -> Settings - Select the tab
Build Steps - Add the command to run the makefile
make -C ../lvgl
- Right click on project and select
- Add the static library and header folders to the project.
- Right click on project and select
Properties - Click on
C/C++ Build -> Settings - Select the tab
Tool Settings - Under
GNU C Compilerselect Includes.- Under the
Include Paths (-I)pane, add the root folder that the static library uses as its base directory when#includestatements are used in source. For LVGL, we use"${workspace_loc:/${ProjName}/lvgl/src}".
- Under the
- Repeat the above step for
GNU C++ Compiler. - Under
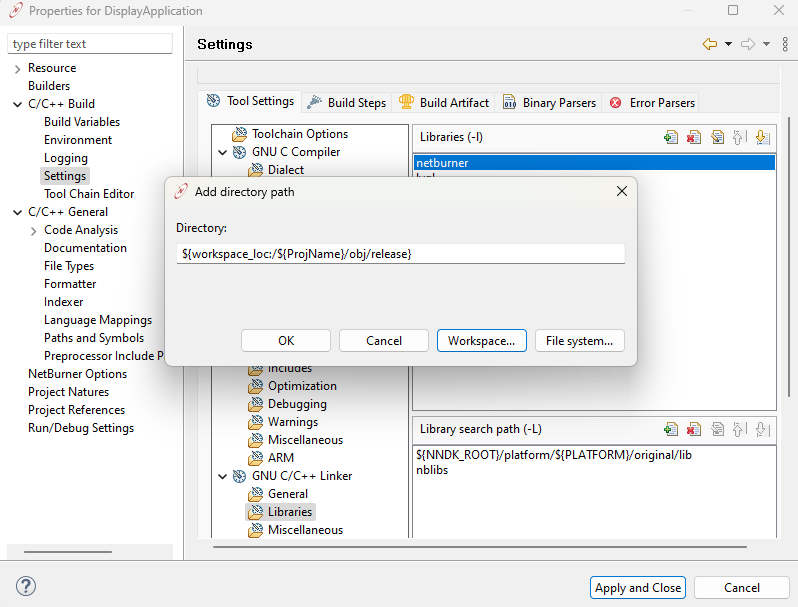
GNU C/C++ Linker, selectLibraries.
- Add
lvglto theLibraries (-l)pane. You may think to addliblvgl.ahere, but that would be incorrect. The GNU toolchain always prepends lib and appends the file extension automatically.
Add../obj/releaseto theLibrary search path (-L)pane. This is the folder that will contain theliblvgl.astatic library that is built by the library makefile.
- Add
- Right click on project and select
- If you prefer to build using NBEclipse, first create a new NBEclipse project. Use the New Project wizard to generate a NetBurner C++ executable project. In this guide, the project name DisplayApplication will be used.


With these changes in place, the application project will now properly build both the static library and the project binary, and appropriately detect and rebuild changes.
Running
We’ll go over designing, building, and connecting the hardware in the next blog post, but for now the code should compile and run on a SOMRT development board with no screen connected.
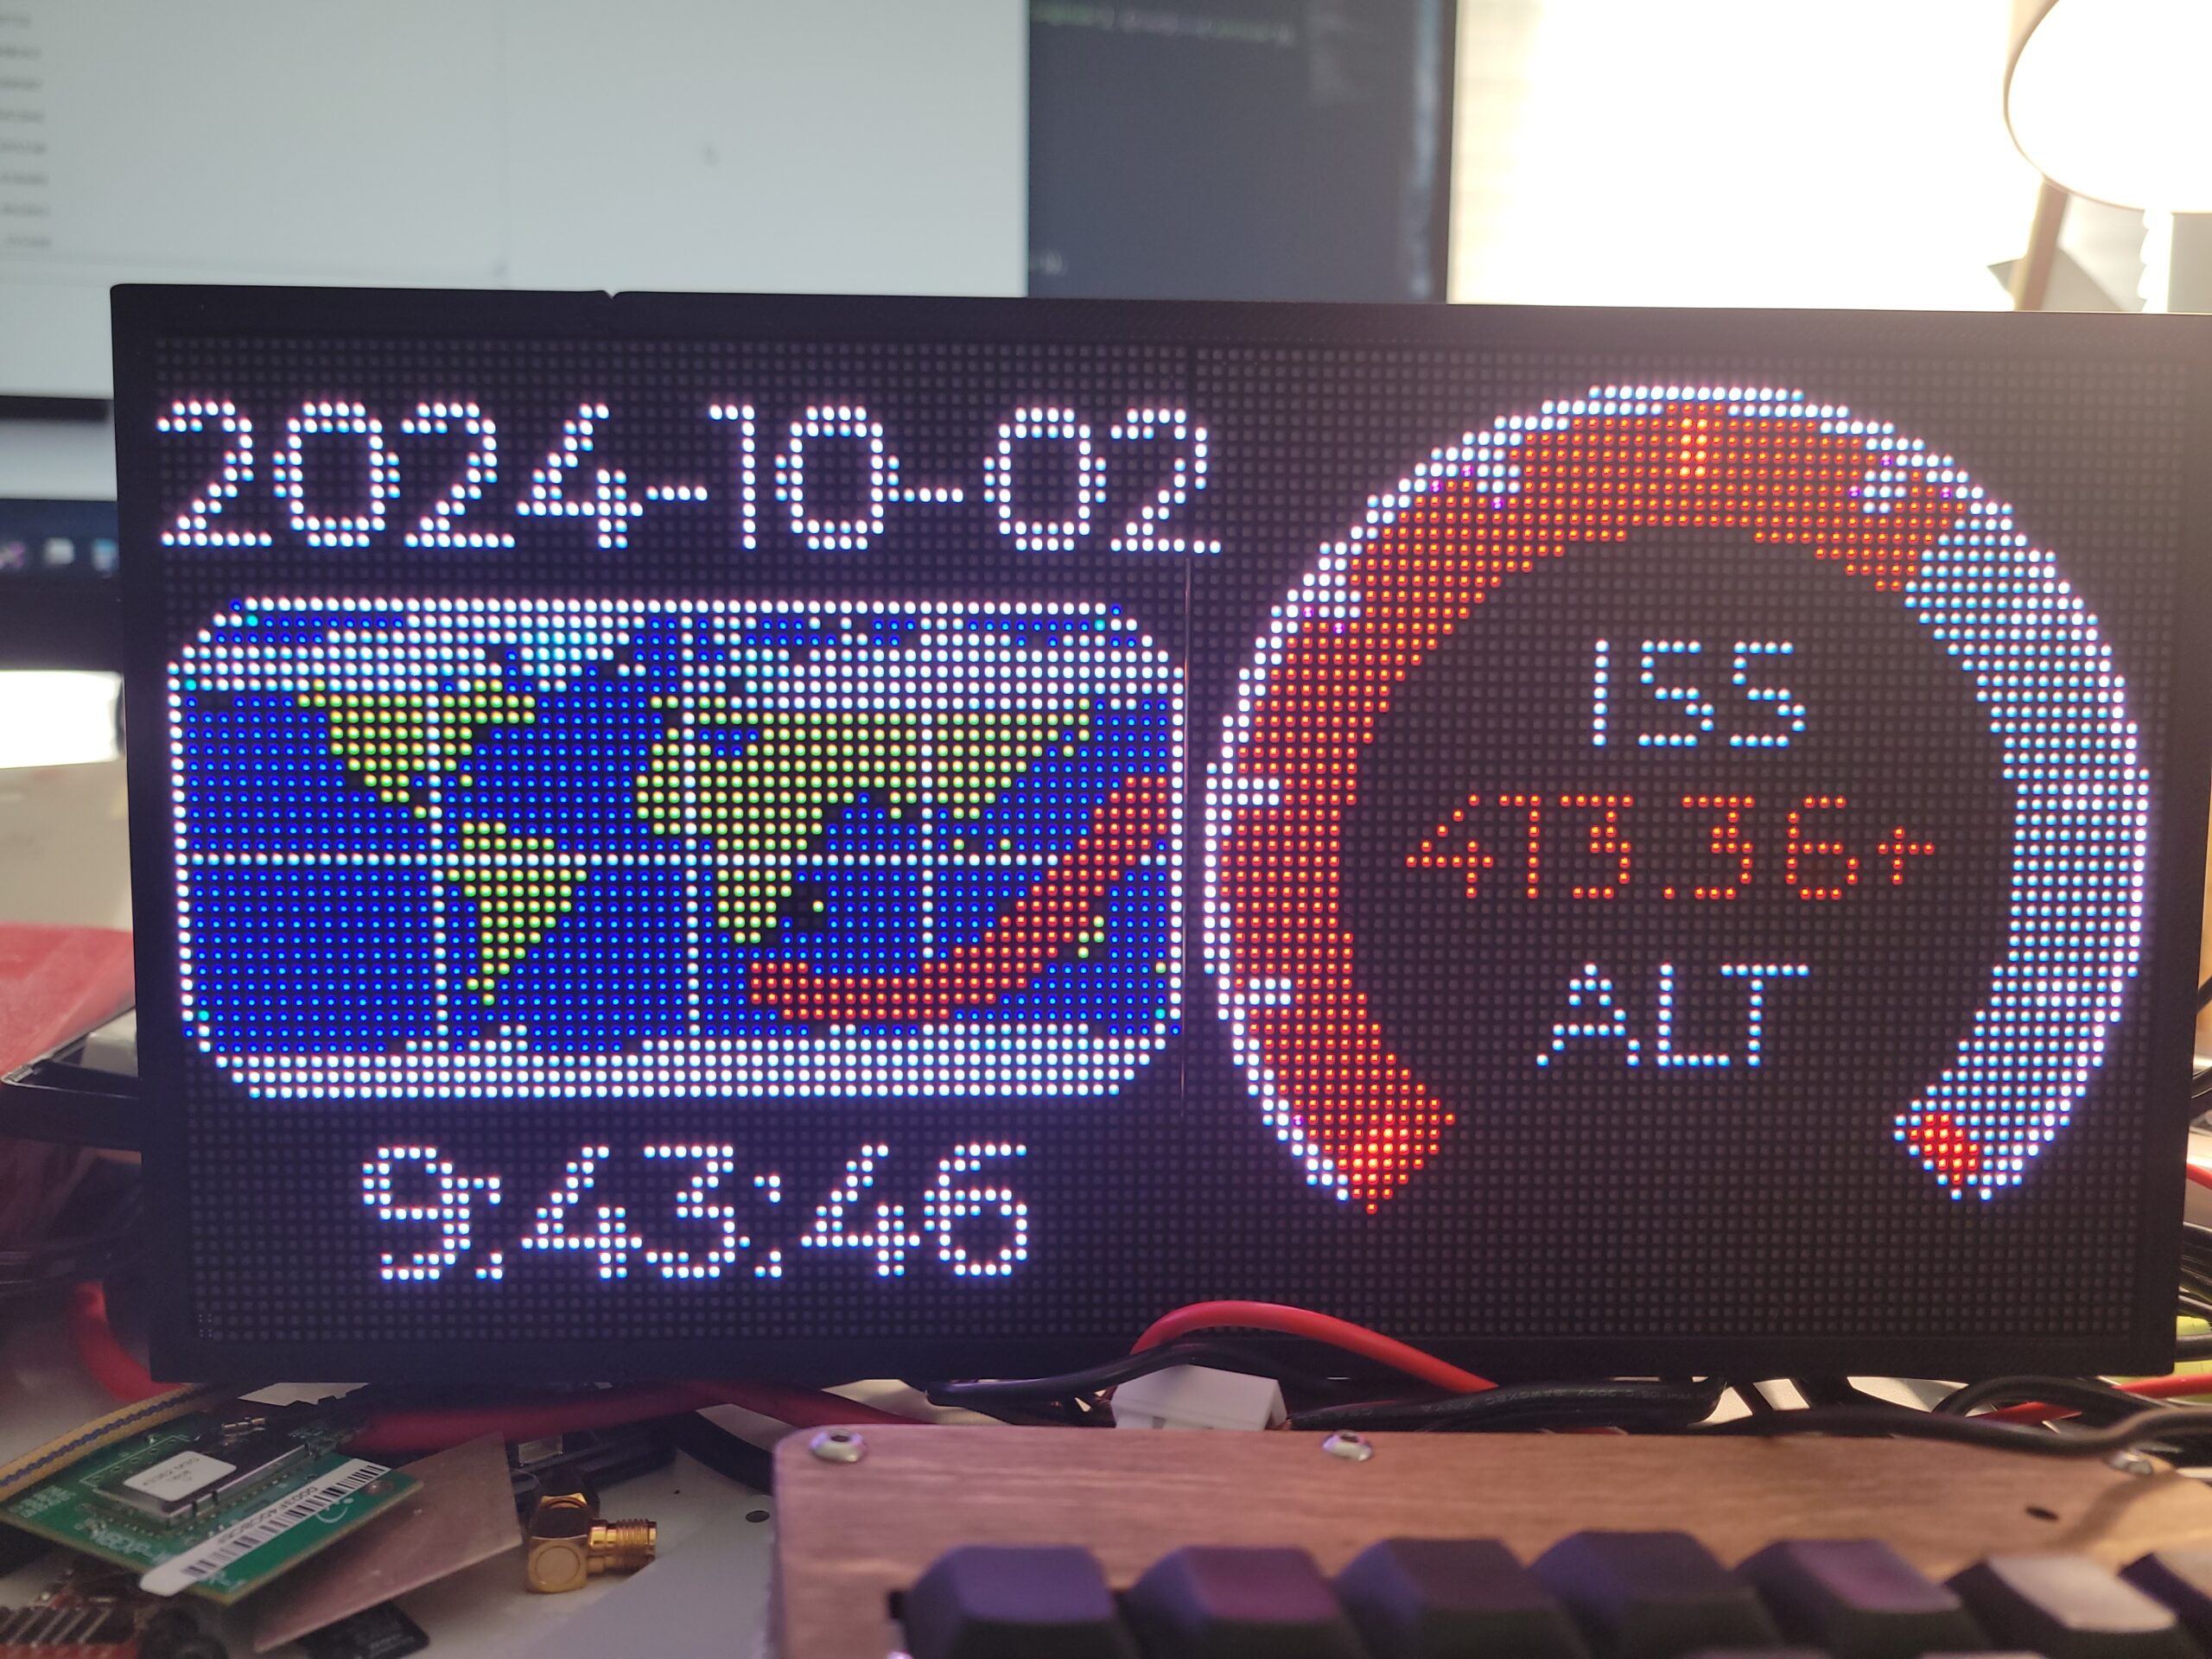
Assuming an Internet connection via an Ethernet cable that can access https://api.wheretheiss.at/v1/satellites/25544 and get time from pool.ntp.org, a connected display would load the GUI from LVGL into a bitmap buffer, and show the last 75 known positions of the International Space Station on a world map, once per minute. It would also show the current date and time. You can see this on the serial console once a minute with messages like 60 got lat -46 long 137 alt 429.627502showing the ISS coordinates retrieved from the web API.
You can change the time zone and other settings by browsing to your NetBurner device’s Config page, i.e. http://192.168.10.150:20034, and clicking the Expand All button followed by your changes and the red Update Record button.
Designing
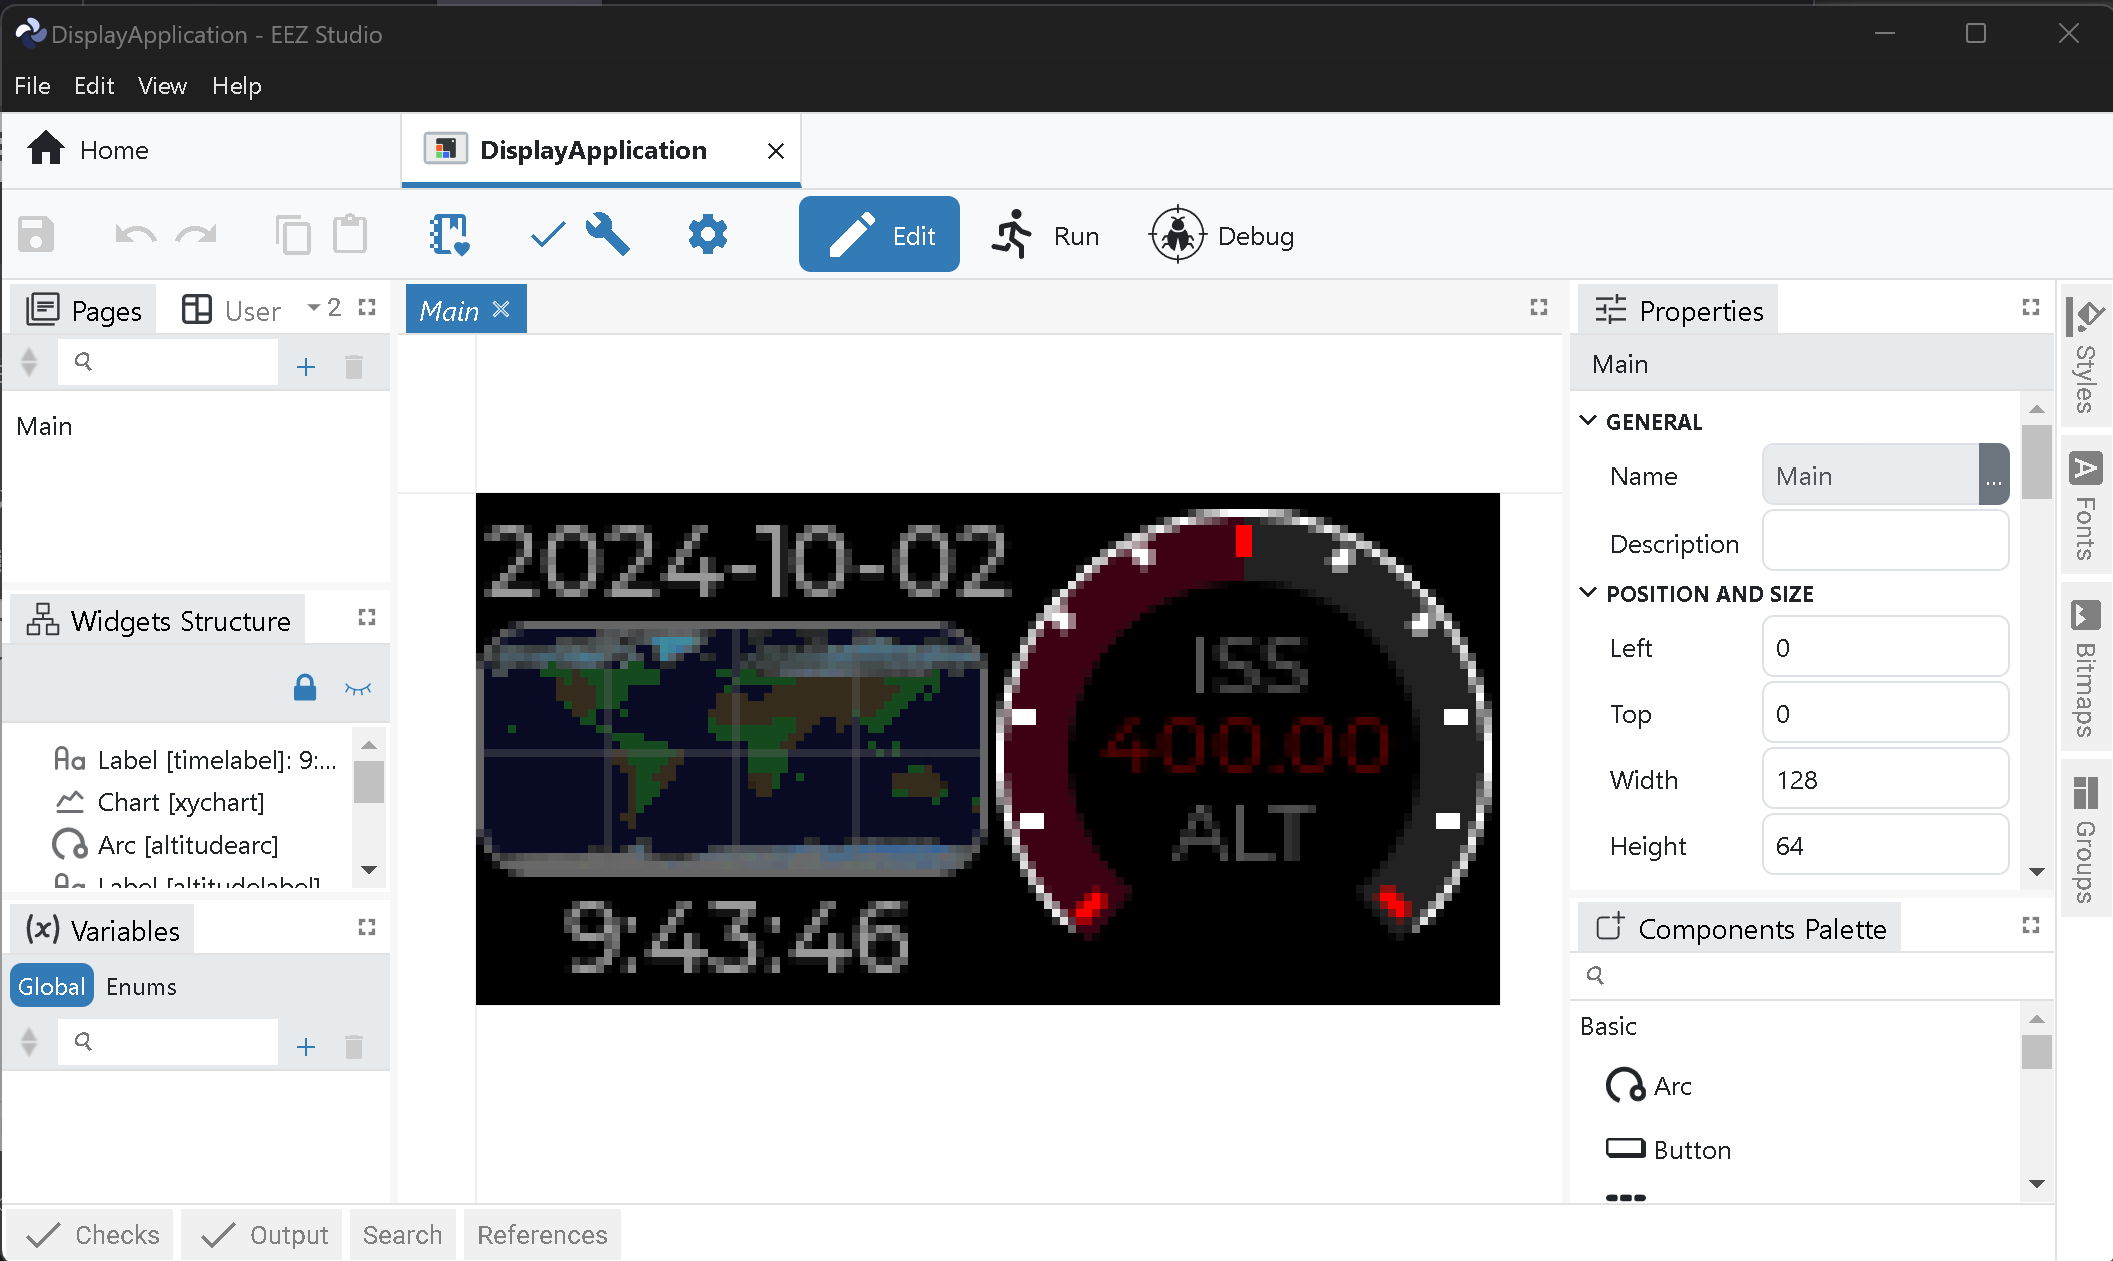
- We can easily edit the LVGL GUI design (which outputs C code under the
src/uifolder) by openingDisplayApplication.eez-projectin EEZ Studio. - Notice that EEZ Studio is set up to generate includes at
<lvgl.h>instead of<lvgl/lvgl.h>. This is to reflect the desired project structure, and if your project has a different structure you may want to change this setting. - Feel free to make any desired changes, like clicking on a widget and changing colors. Note that dark colors are chosen to make the display appropriate for a desk. The display can be extremely bright if light colors are used.
- Save and Build your EEZ project when done.
- Edit
main.cppaccordingly if you want to modify GUI elements programmatically: theobjectsandobjects_tstruct is defined by EEZ Studio inui/screens.hand contains any named UI elements. You can see how we make them functional in the body ofUserMain().
- We can easily edit the LVGL GUI design (which outputs C code under the
Developing
The core of LVGL is called inside of UserMain with the lv_init() and lvgl_display_init() functions. The ui_init() function loads the contents of the src/ui folder. UI objects are then made available in the objects variable, so we can adjust their function dynamically as desired inside UserMain. RTOS tasks are also created for LVGL’s lv_timer_handler and a DisplayTask function that does the work of actually driving the screen.
The LED matrix display driver is implemented in three places: the DisplayTask function which calls functions in dma.cpp to push buffers out to the screen’s pins, the lvgl_flush_cb LVGL callback which draws LVGL’s display buffer into our internal Display object, and finally those Display and Screen objects we’ve implemented in those respective cpp files. We use Gray encoding to store and send color information to the display via PWM and the DMA routine mentioned above. You can see more about driving these RGB LED matrixes on Adafruit’s website and GitHub.
The easiest things to modify are just before and inside the main UserMain loop: tweaking the UI or changing behavior to suit you needs. Feel free to poke around the program and take to the forums to chat about importing your own libraries or setting up your own displays!
EEZ Bugs
Be aware that EEZ Studio has a couple rough edges:
- Setting the chart dot size
lv_obj_set_style_size(chart, 2, 2, LV_PART_INDICATOR)isn’t supported inside EEZ Studio, so we do this inmain.cppinstead. - When changing a bitmap or other externally-referenced file, its source may need to be re-selected from the filesystem: these files are imported inside the EEZ project and won’t automatically update themselves.
- When setting bitmaps in EEZ Studio, it may erroneously display the same bitmap across all bitmaps in the project. This should be ignorable and is a UI bug.
- Setting the chart dot size
Up Next
That’s it for this post, we hope it’s been a useful way to get started with external libraries in your NetBurner project or extending your NetBurner to produce beautiful graphics! Next in this post series we’ll dive into how easy and flexible prototyping with the SOMRT1061 is, and some considerations/examples for those designs, plus producing and assembling your own LED display!