

We do our best to provide an extensive list of drivers and libraries for use with your projects and applications right out of the box. That said, sometimes you will want to include a specific external library that we just don’t have built in support for. Fortunately, incorporating these libraries into your project is fairly straightforward.


Building external libraries can be divided in to two steps. First, since most libraries found on the Internet are not prebuilt for a Coldfire or ARM processor, the library will need to be compiled under the NetBurner GCC toolchain. Then, the application project will need to link in the external library archive file when building. The process of building and linking an external project changes, depending on if they are being built within NBEclipse or on the command line, managed by a makefile. We’ll show how to work through both scenarios below.
In this example, everything was built under Windows 10, but should be applicable to all supported OS’s.
Setting Up the Environment
To begin, clone the NetBurner nanopb-simple example to a local repository. Alternatively, if you wish to download the latest version of nanopb, download and extract the Nanopb package for your operating system. At the time of writing, the latest version used and tested in this example is 0.4.5.
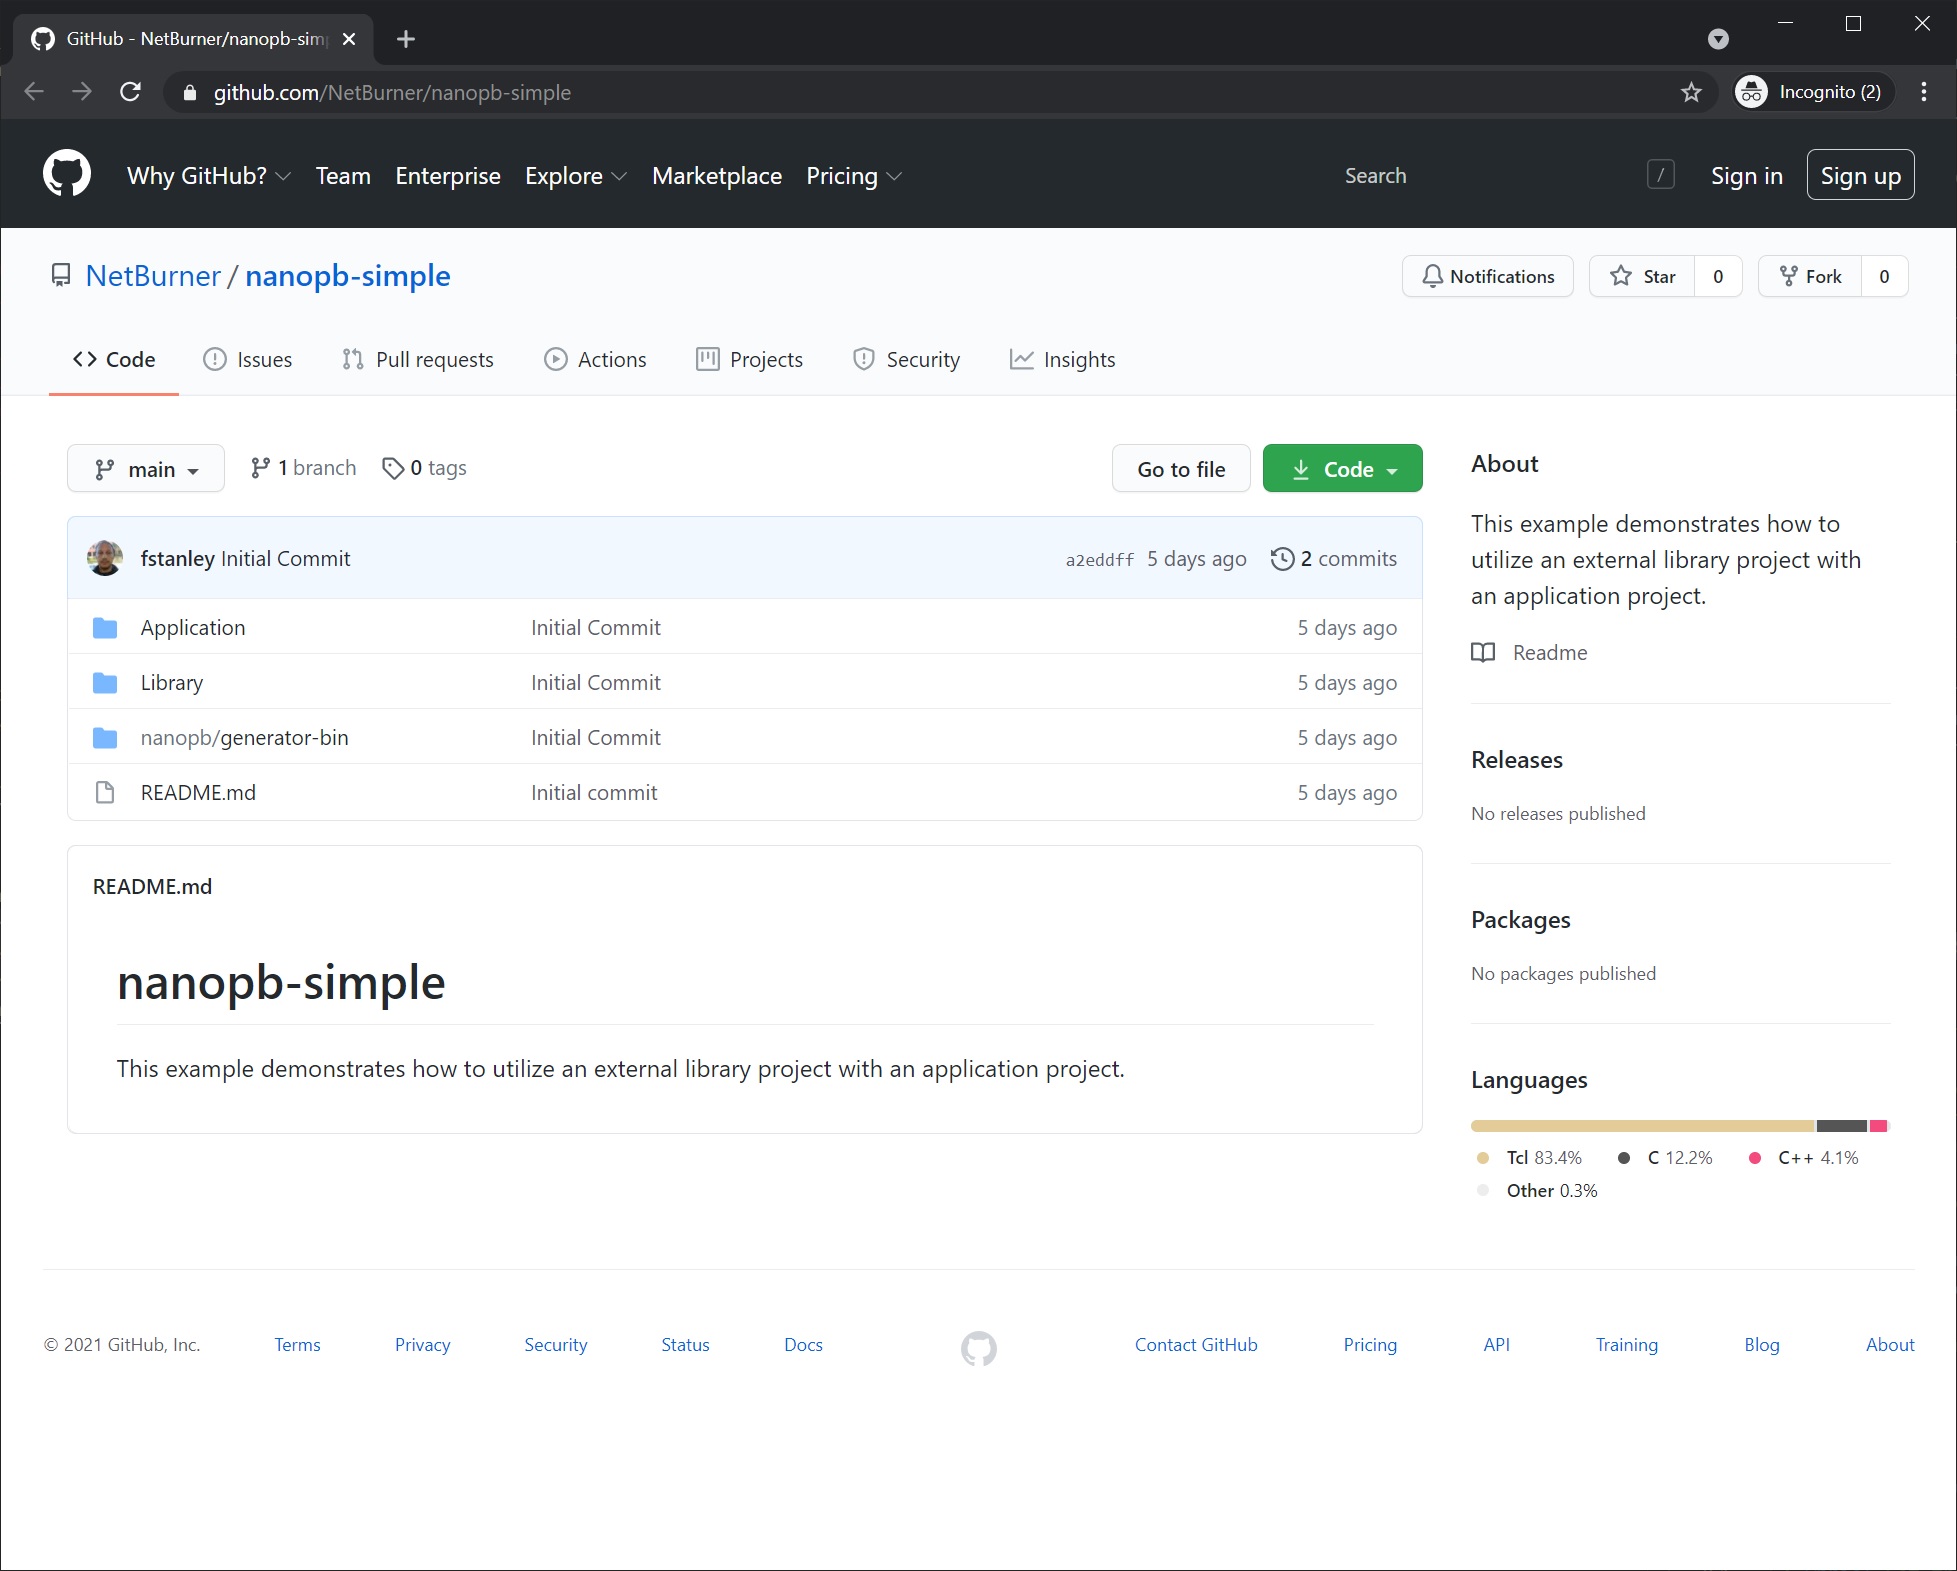
In the root directory of the package there are several C and H files, all of which have the prefix pb. They will need to be placed in the Library project, either in NBEclipse or on the command line (depending on how you’re building the project). In addition, the generator-bin contains protoc.exe, a utility that compiles .proto files in to source files. These will be used in the application projects below. These files are all included and ready to go in the NetBurner nanopb-simple Github project linked above.
NBEclipse
NBEclipse has the ability to build both library projects and application projects. The type of project that is built is selected when creating a new project.
Library NBEclipse Project
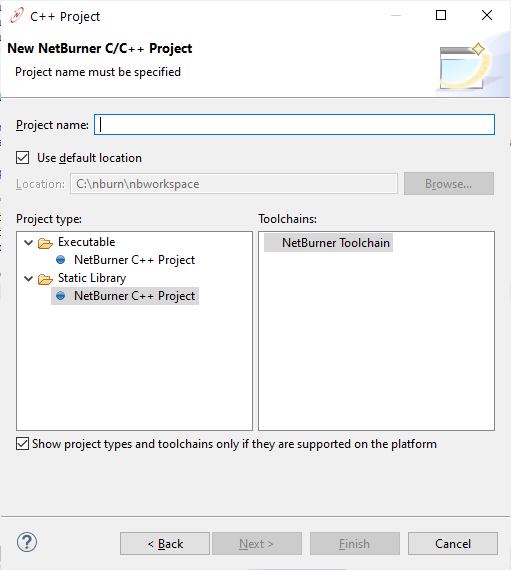
To begin, a new project will need to be created that will generate a static library. Select File->New->Project... , select a NetBurner Project, and click “Next”. By default, the default option for a project is an Executable, however, this project needs to be changed to a Static Library. Select “Static Library” and give the project a name. Click “Next” twice to get to the Device Options selection. Ensure that the target platform is set to the NetBurner platform that this project will be building for. Once selected, click “Next”, and then “Finish”.
With an empty library project now created, copy and paste the source files from the Library folder of the NetBurner nanopb-simple example repository. Only the header and source files are required. Building the project will create a lib<projectname>.a file in the release folder.
Application NBEclipse Project
With the library built, an application project can now be created that depends on the library. Create a standard NBEclipse project using the new project wizard. Copy and paste the source files from the Application folder of the nanopb-simple repository in to the project src folder. NBEclipse will begin building the project and fail. This is expected, since the project dependency settings have not been created.
The application requires three tool settings to be set so that it will depend on the other library project. Begin adding the library project src folder to the include path of the application project. Right click on the application project and select “properties”. Under C/C++ Build, select “Settings”.
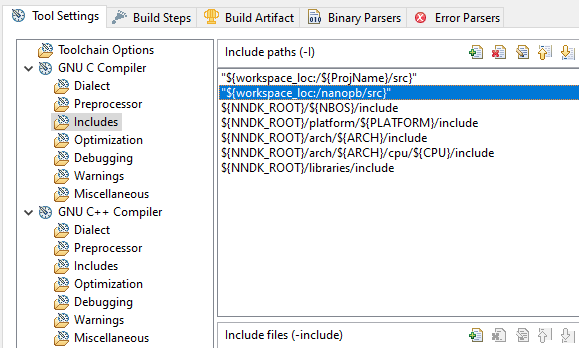
Under Tool Settings, select GNU C++ Compiler->Includes. Click on the plus sign in Include paths, and add the library project src folder. Since this project may have C files in addition to C++, add the include folder under GNU C Compiler settings as well.
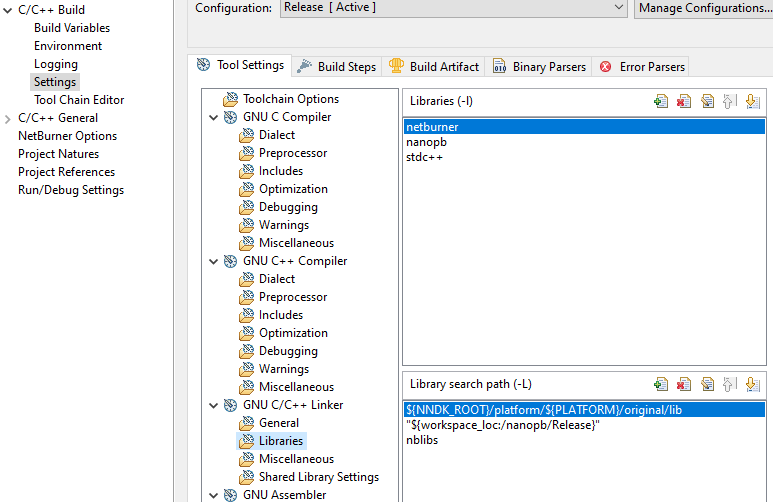
To link to the required library, under GNU C/C++ Linker, select “Libraries”. In the Libraries (-l) tab, add the name of the Library project. The lib prefix and .a filetype are not required (i.e., just type in nanopb). Under “Library search path (-L)”, click plus and add the library project Release folder. Click apply to save settings. With these changes in place, the application project will now properly include the library project.
Command Line
Just as before, building and linking external libraries will require two projects. The first will build the library, while the second will utilize the library. This section will cover both project types. If you want to skip directly to the working example, it can be found on Github.
Library Makefile Project
A project that builds a library on the command line looks a lot like a project that builds an application. The makefile requires a name and it must list the source files of the library.
NAME = libnanopb
TARGET_TYPE = lib

C_SRC += \
	pb_common.c \
	pb_decode.c \
	pb_encode.c
include $(NNDK\_ROOT)/make/boilerplate.mk
The major difference between an application and a library makefile is the TARGET_TYPE variable. By default, this variable is set to app. It also supports lib and nblib. lib places the library in the project build directory, nblib places the library in the NNDK installation library directory, which defaults to /nburn/lib.
Application Makefile Project
Once the library is built, the application makefile will need some additional information to link in the external library. The application probably uses the headers from the external library, so it will also need to know where those headers are.
NBINCLUDE	+= \
			-I../Library

XTRALIB 	+= \
			../Library/obj/release/libnanopb.a
The NBINCLUDE variable will add the directory listed to the compiler Include directive. With this, the C++ source can locate the headers from the external library with a typical include define #include <pb_encode.h>.
The XTRALIB variable will add the external library to the linking step of the toolchain. When the library makefile above used TARGET_TYPE=lib, it placed the library in the obj/release folder. In the application project, that location is used for setting XTRALIB.
A Complete Makefile
Make offers more complete dependency management if all of the steps of the build process are known. The application can be improved by adding the Library project as a target type, so that it will know how to build the library project if the library is missing. Both the Library project and Application project, along with the complete application makefile with dependencies can be found on Github.
Wrapping Up
With the above steps laid out, it’s not hard to see how your embedded IoT applications can be extended to include all sort of interesting libraries. If this is something you’ve already tackled, we’d love to see what libraries you’ve included, and how you’re using them in your products. Please feel free to share, or send us an email directly at [email protected].